(Basics)
(ブロック崩しゲーム)
(Learn the basics in order to be able to write your new game more efficiently.)
LEVEL
![]()
ENVIRONMENT
Scratch
![]()
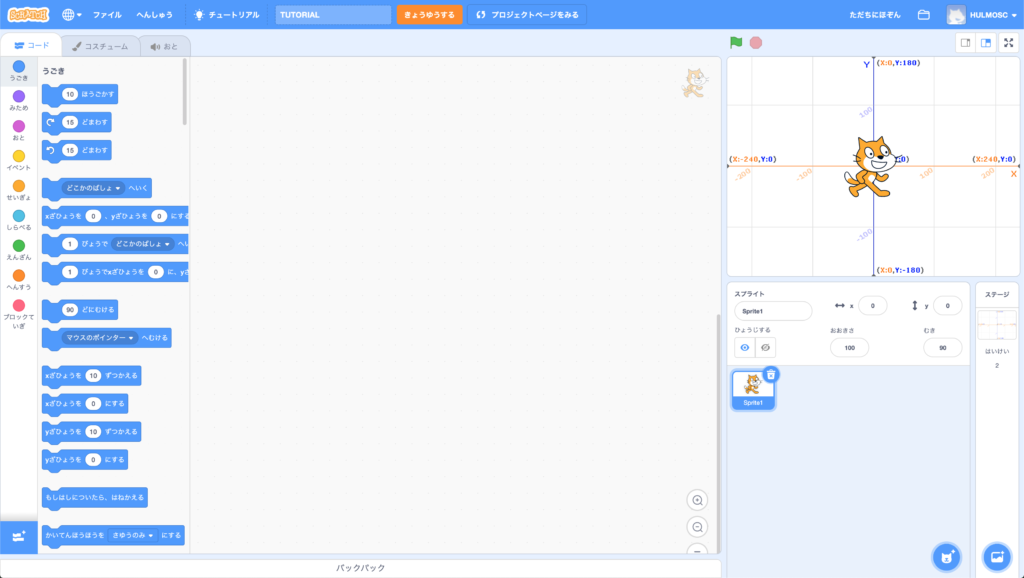
Interface
This is the main page.
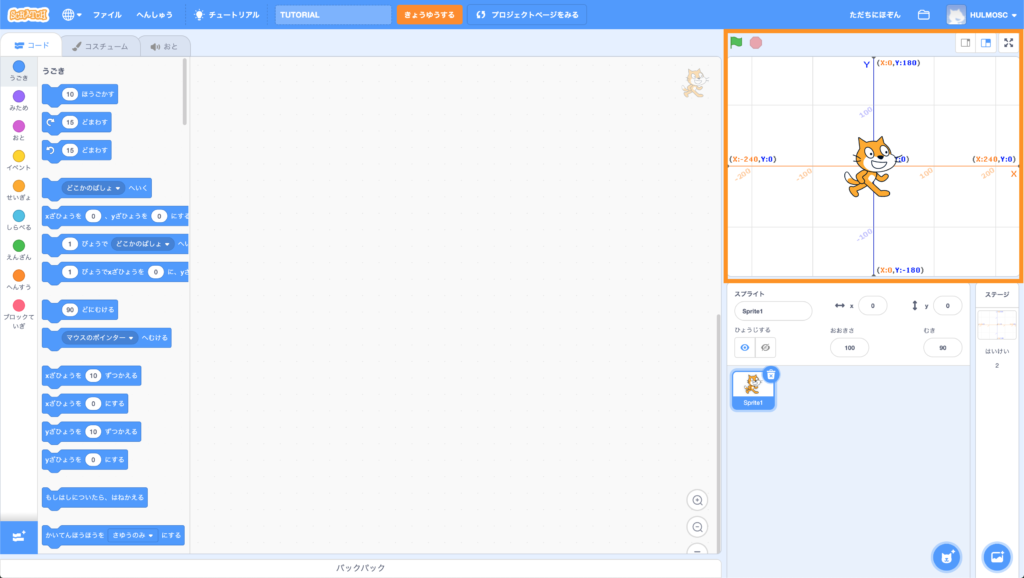
This is the Game Screen.
It shows the game you have created here.
Green flag = Start.
Red button = Stop.
![]()
Sprite setting
This area shows your sprites settings.
Sprites = Objects that you have created.
When you have created a sprite, it shows on your game screen.
![]()
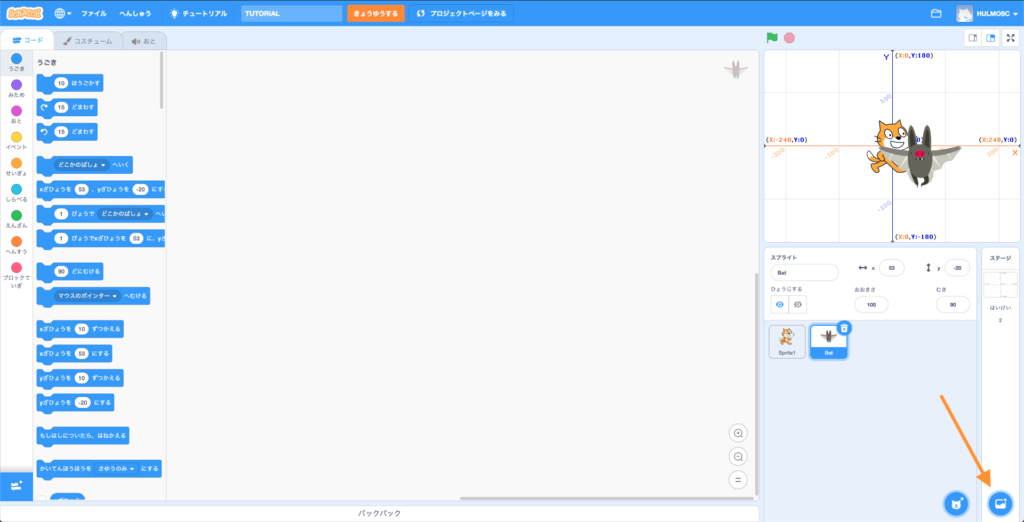
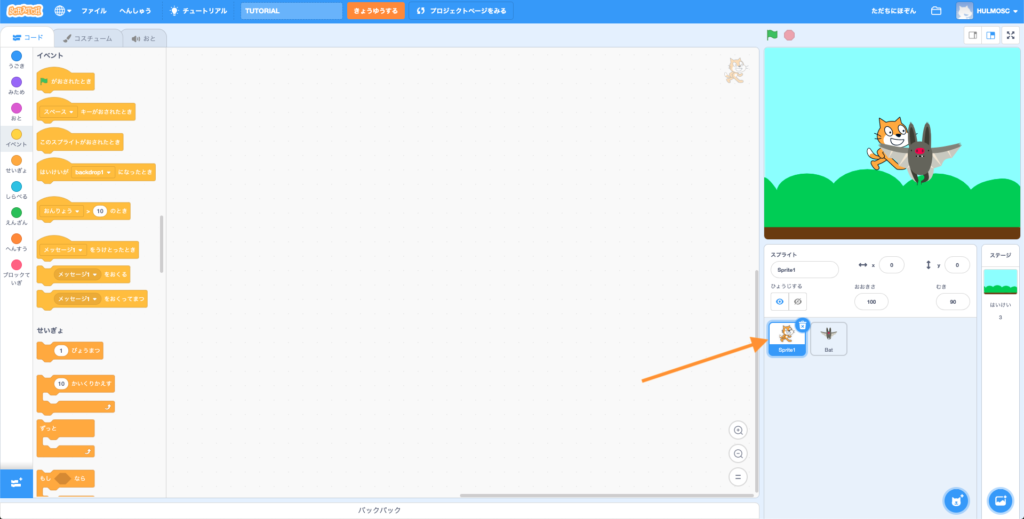
Click on the bottom right button to add another new sprite.
![]()
Click on your desired sprite, then it will show up on your game screen.
![]()
![]()
![]()
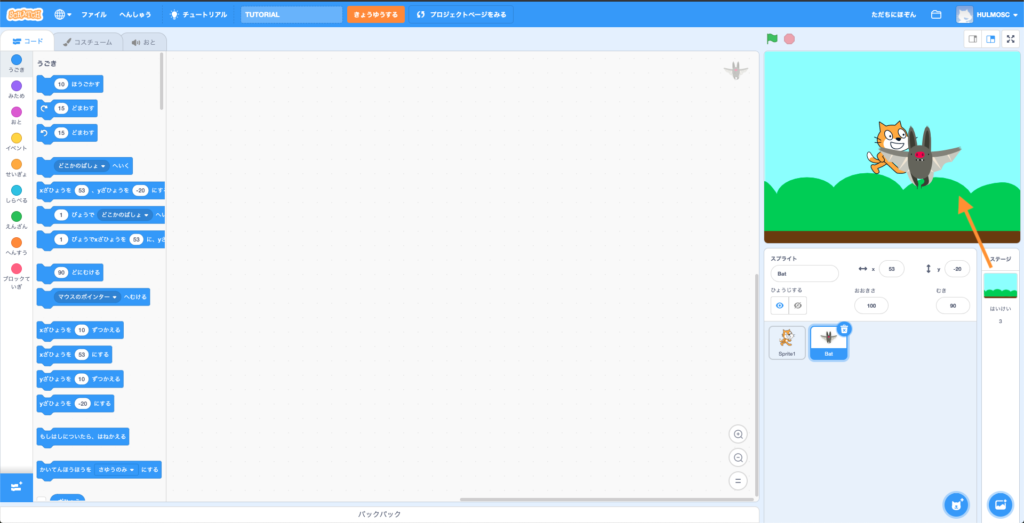
Stage setting
To edit your stage, click on the bottom right button as shown.
Choose your desired stage and it will show up on your game screen.

![]()
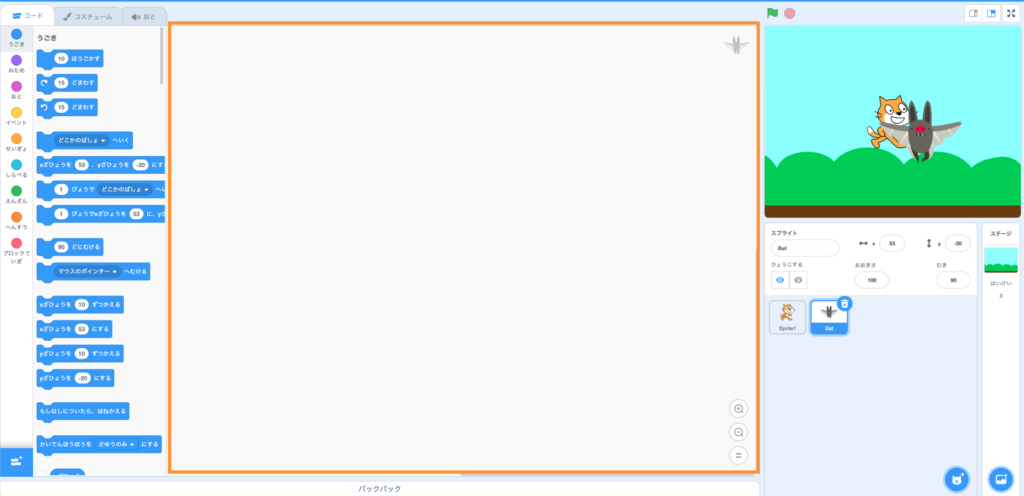
How to program
This is your programming area.
These are the codes you can use for programming.
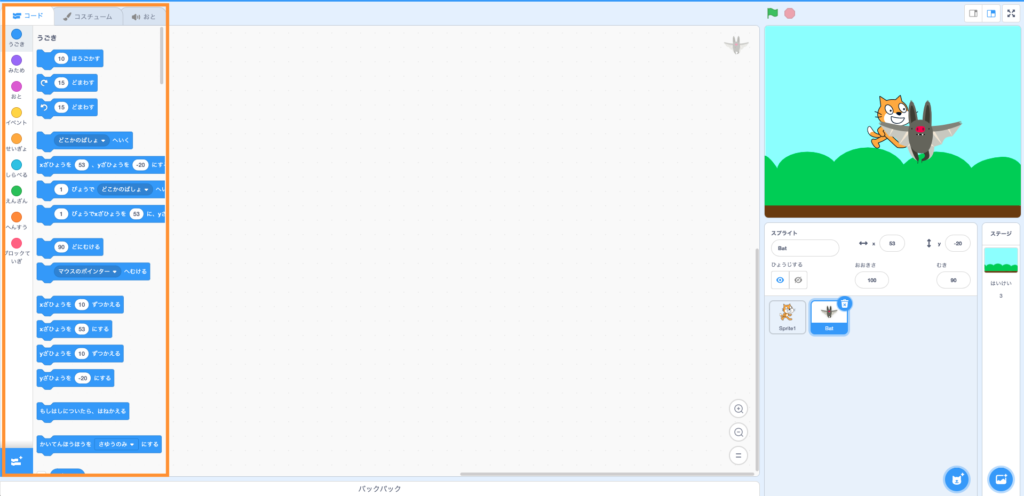
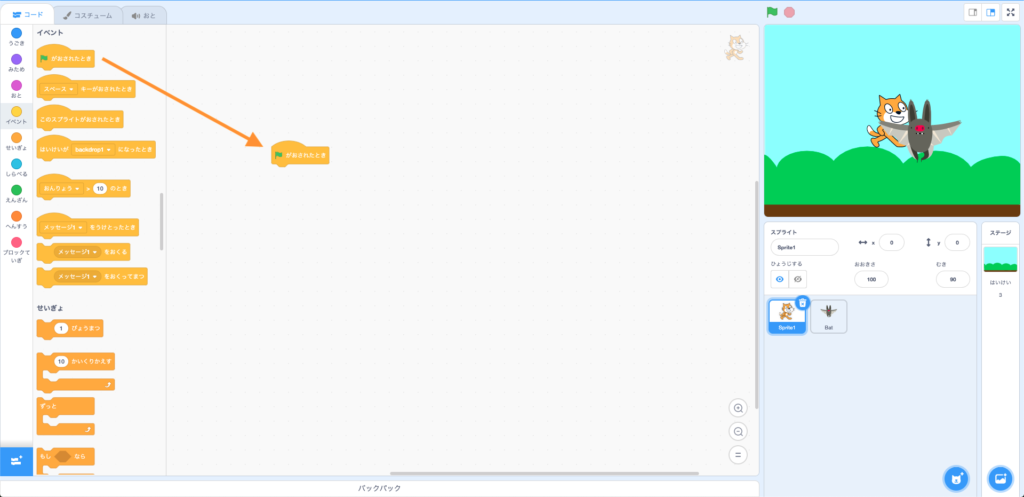
To start programming, first choose the sprite you want to edit.
Let’s say we want to move the cat. So first click on the cat in the sprite setting.
In general we need the “ がおされたとき” to start our program. So drag that into our programming area.
Then Drag the code that you want to use to the programming area.
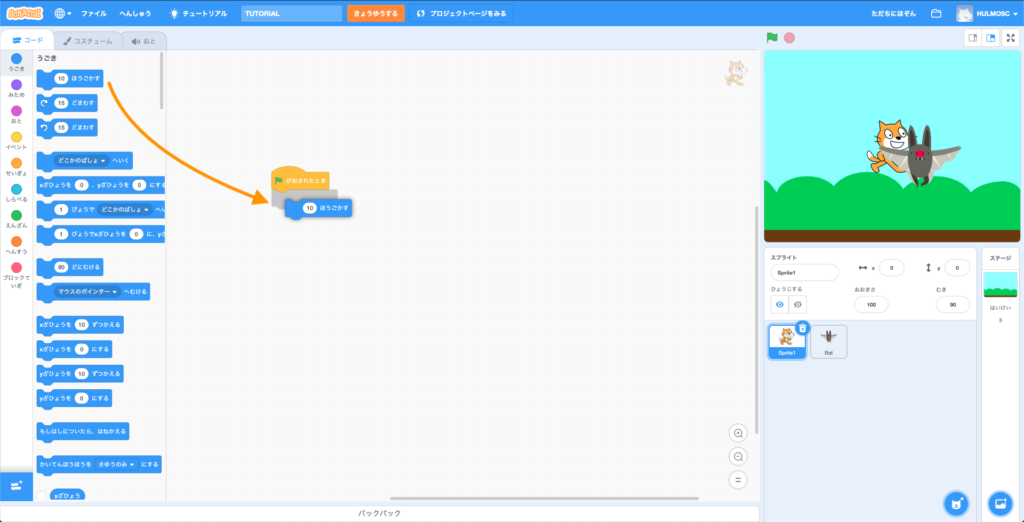
Now try to click on the button on top of the game screen.
If the cat moved, Congratulations! You have created your first program.
![]()
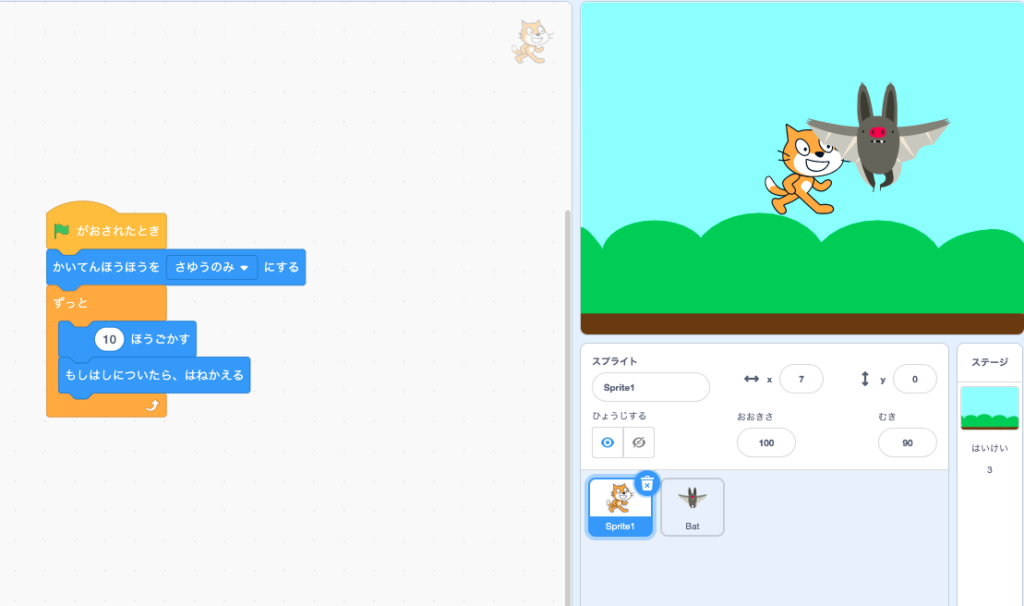
Try it yourself!
Build the following the example, then click on the green flag to see what happens.