ゲーム作成
Shoot down the pink monsters with the rocket to proceed to the next stage!
LEVEL
![]()
開発環境
UNITY

![]()
シーンを作る
1. Open Unity Hub, create a new project:
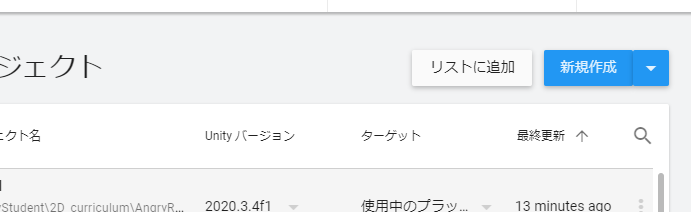
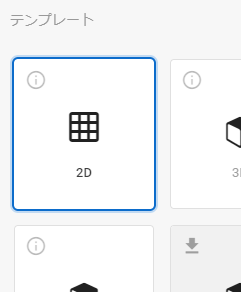
2. Choose 2D, name it “AngryRocket”, and click “Create”

1. Open Unity Hub again, click on your project’s 3 dots icon, and open the project folder:

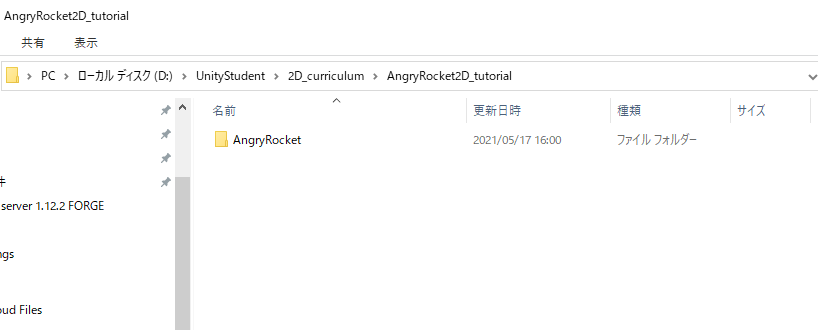

2. Open “Assets” folder. Put your downloaded packages (Art and Scripts) to “Assets” folder:
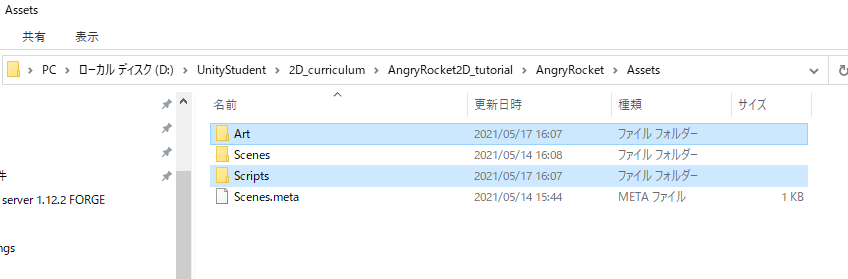
“Assets” folder is the place we put our game objects, such as images, or programming scripts.
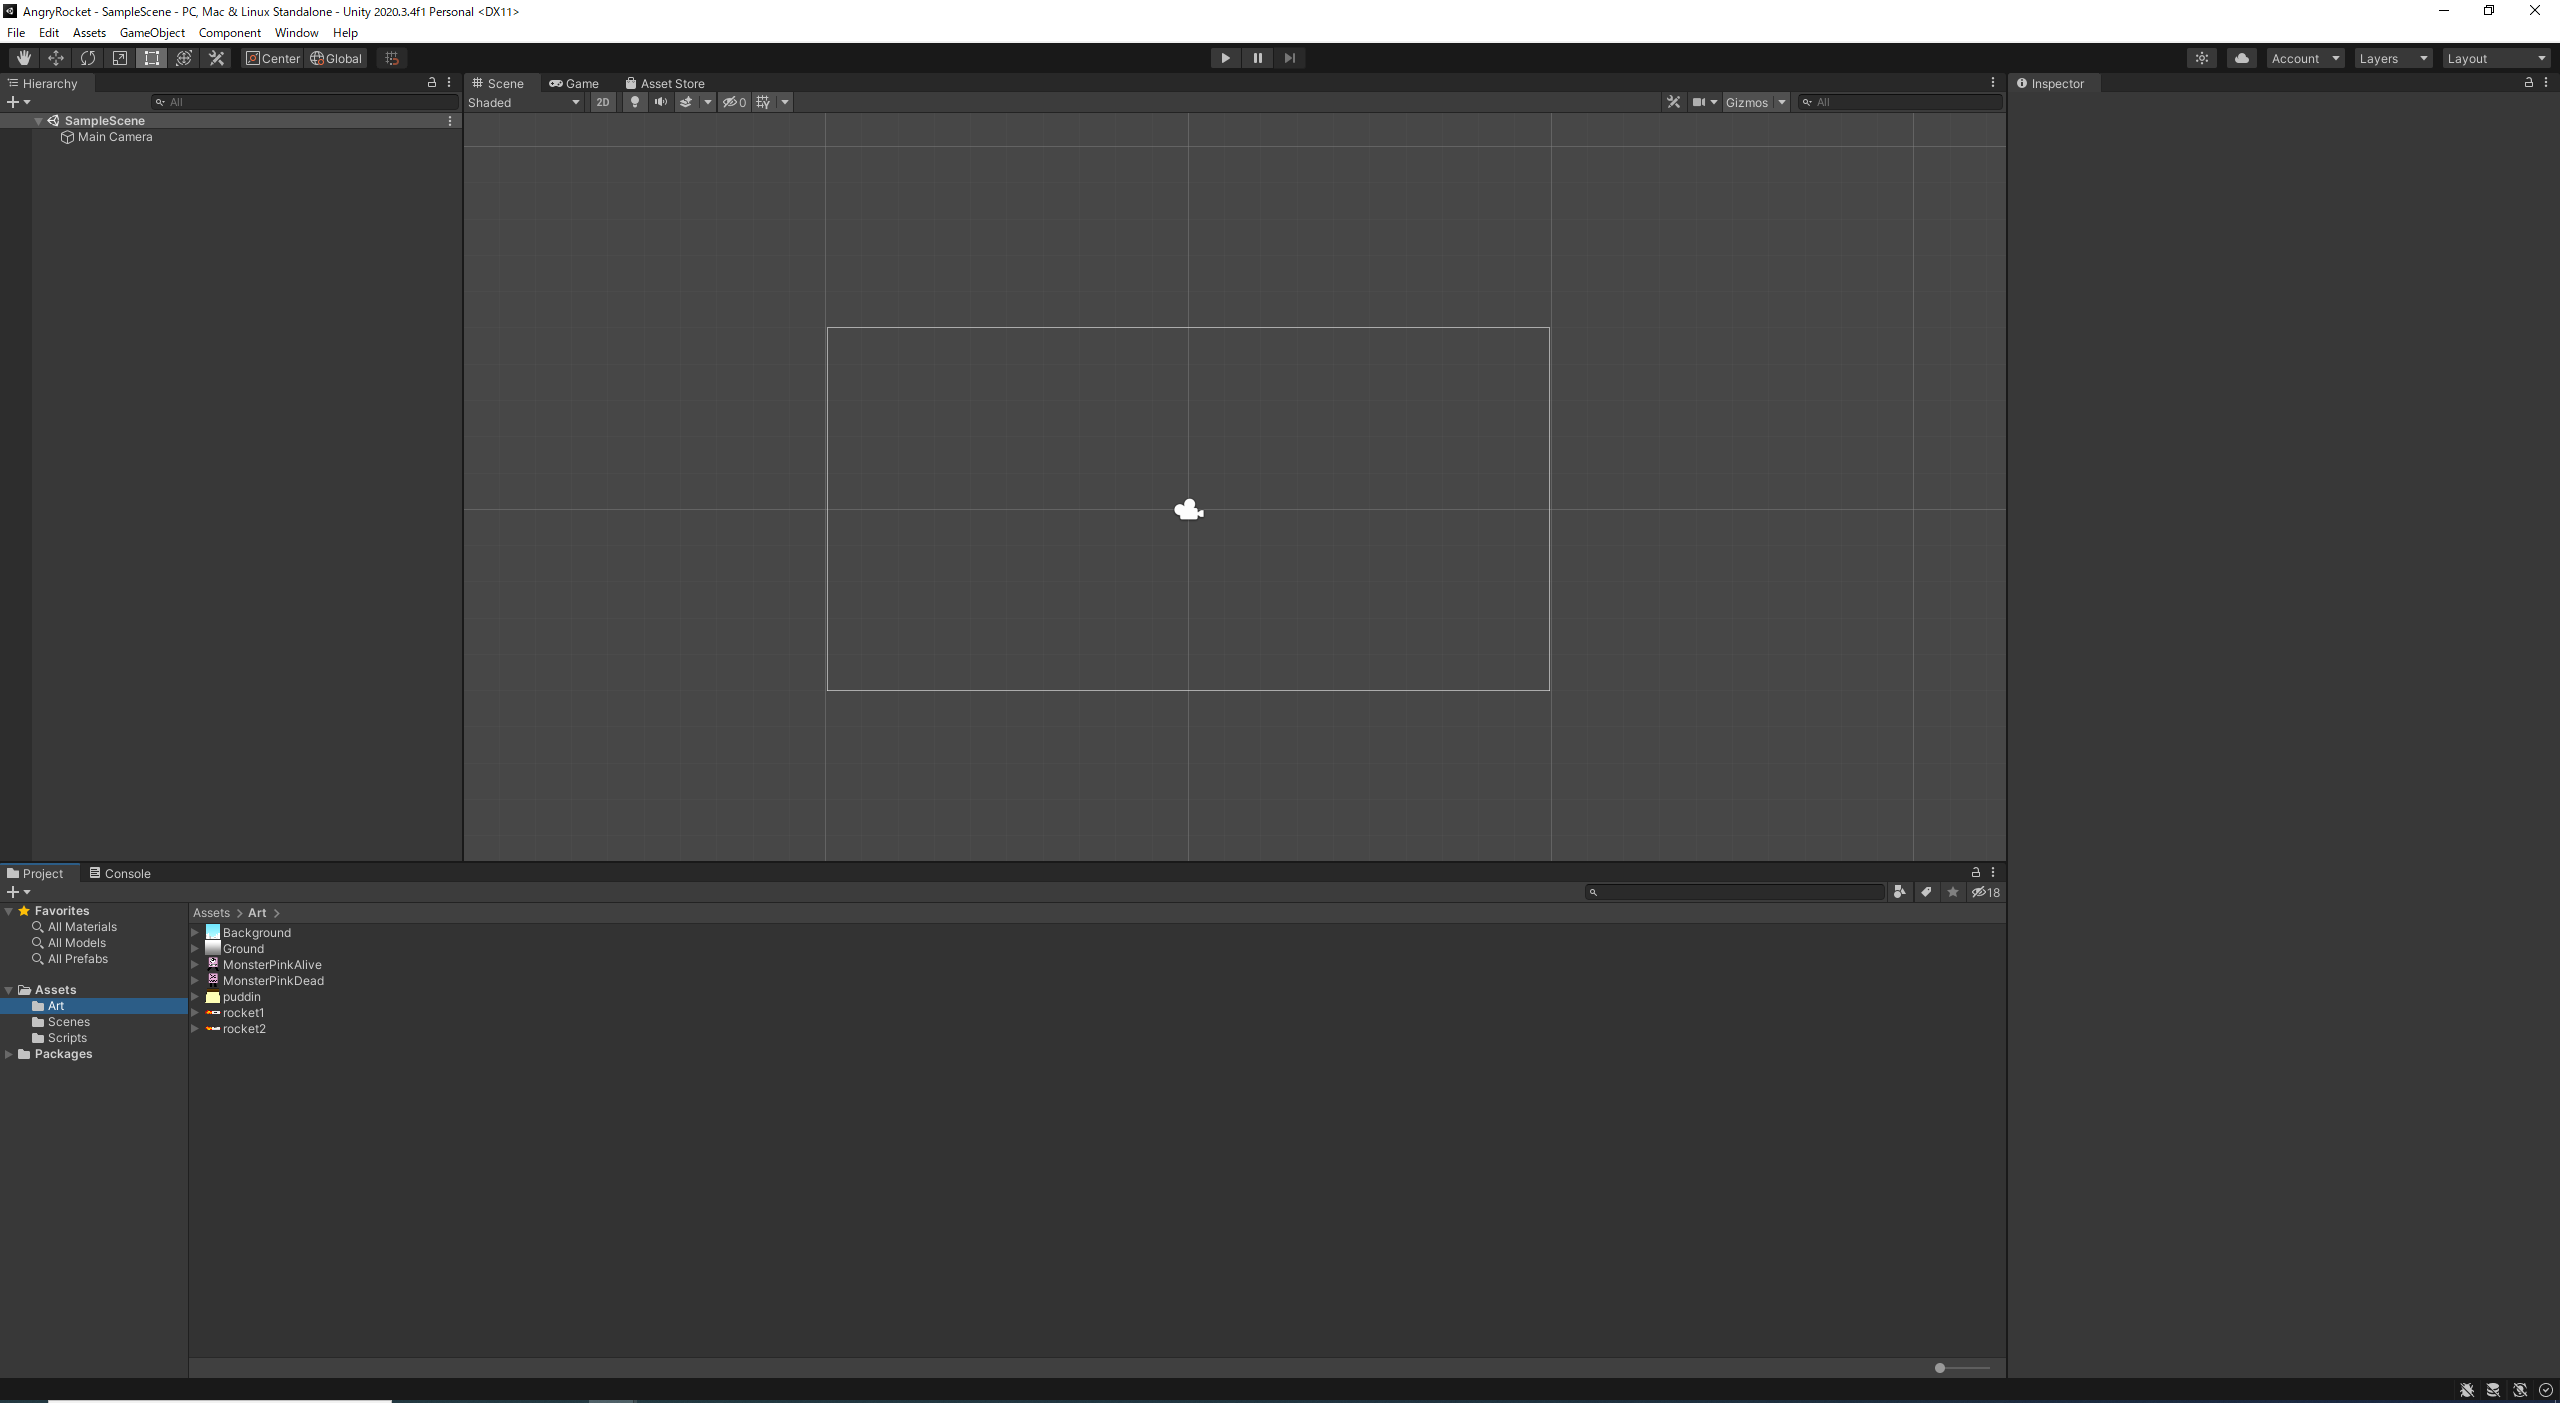
We can view the project folder in Unity in the “Project” tab:

今回必要なゲームオブジェクトは
- Background (Decoration)
- Ground (Stop objects falling from gravity)
- Rocket (Player)
- Pink Monsters
- Pudding
- Camera
- LevelController
1. Select “Background” image, Set the background to “Full Rect”, and “Apply” changes:


2. Drag “Background” into the game screen
3. Select “Background” in Hierarchy, change draw mode to “Tiled”:


4. Drag the side of the image as long as you want:
5. Select “Background”, set it as a background layer (So it won’t be in front and blocking other future objects):
 =>
=> 
=> 
1. Drag the “Ground” file into the game screen, then drag the side to make it as long as the background as shown:
2. Add a new component named “Box Collider 2D”:
1. Add the rocket as an animated sprite. Select two sprites and drag them into the game by holding shift while selecting:

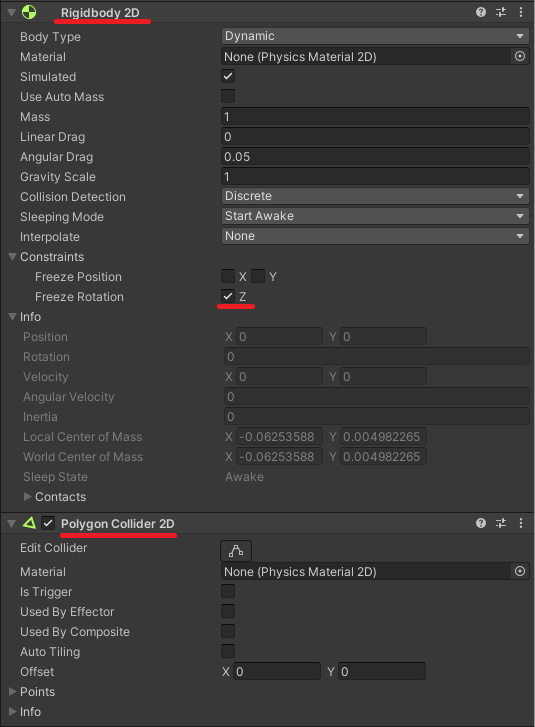
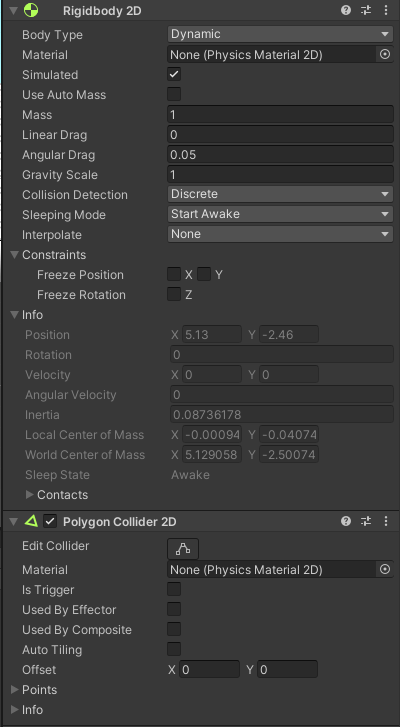
2. Add the following components into “Rocket”:
– Rigidbody 2D
– Polygon Collider 2D
1. Create a new “Pink Monster”:
2. Add the following components:
– Rigidbody 2D
– Polygon Collider 2D
3. Add a particle system to the monster (right click “MonsterPinkAlive”):
4. Edit the particle system to the following:
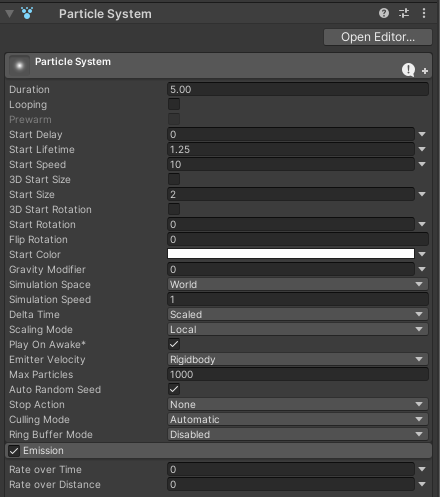

Result:
1. Create a new “Pudding”:
2. Add the following components:
– Rigidbody 2D
– Polygon Collider 2D

1. Import the “Cinemachine” package:
2. Create new camera:
3. Change “CM vcam1” setting as follow:

1. Create an empty object named “LevelController”:
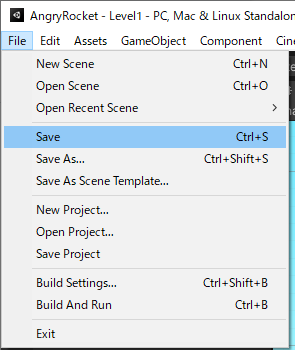
2. Remember to save the changes you made:
3. Organize the objects by renaming them:
![]()
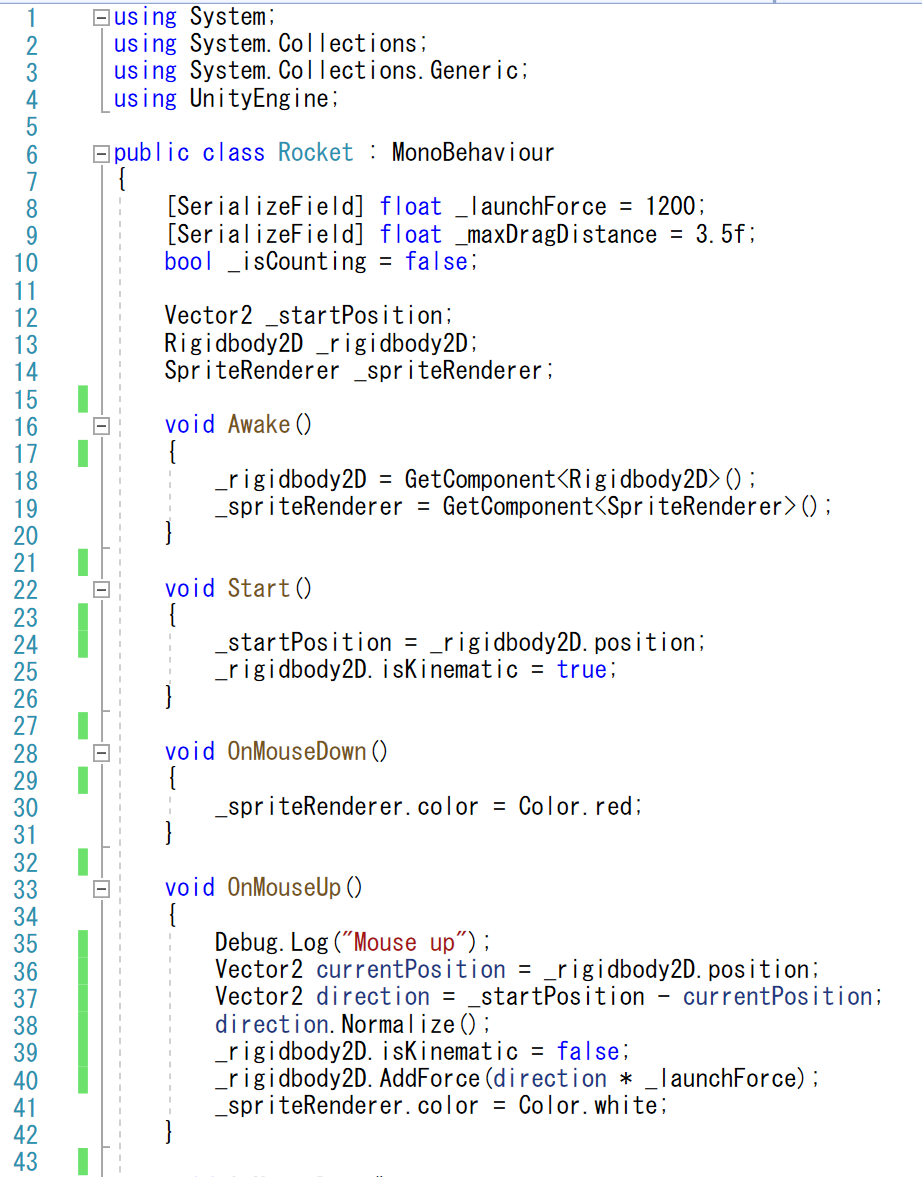
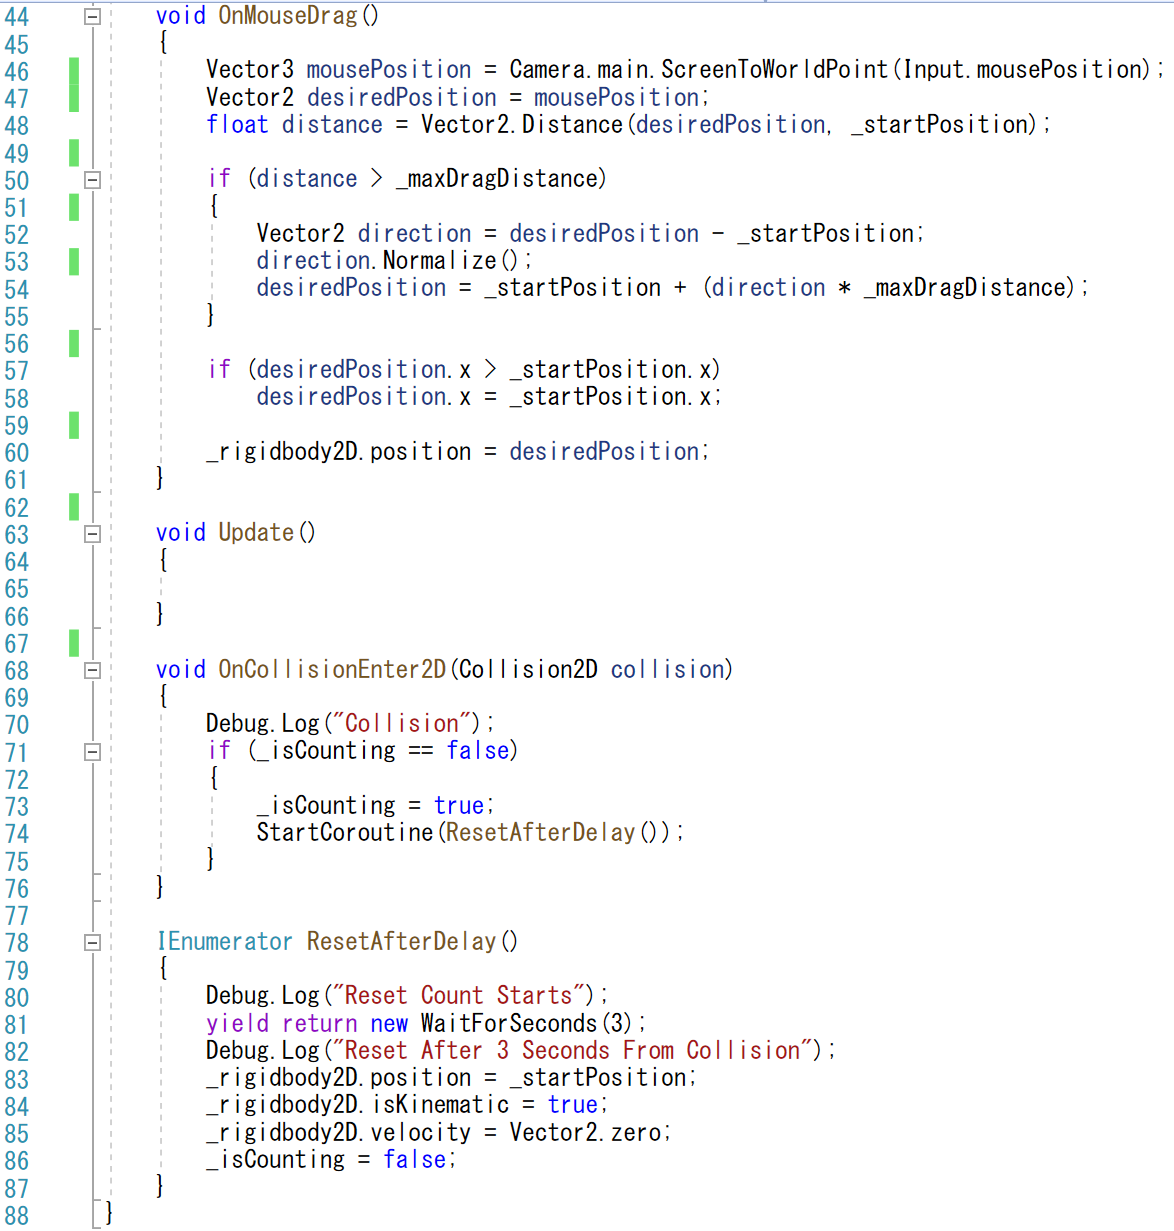
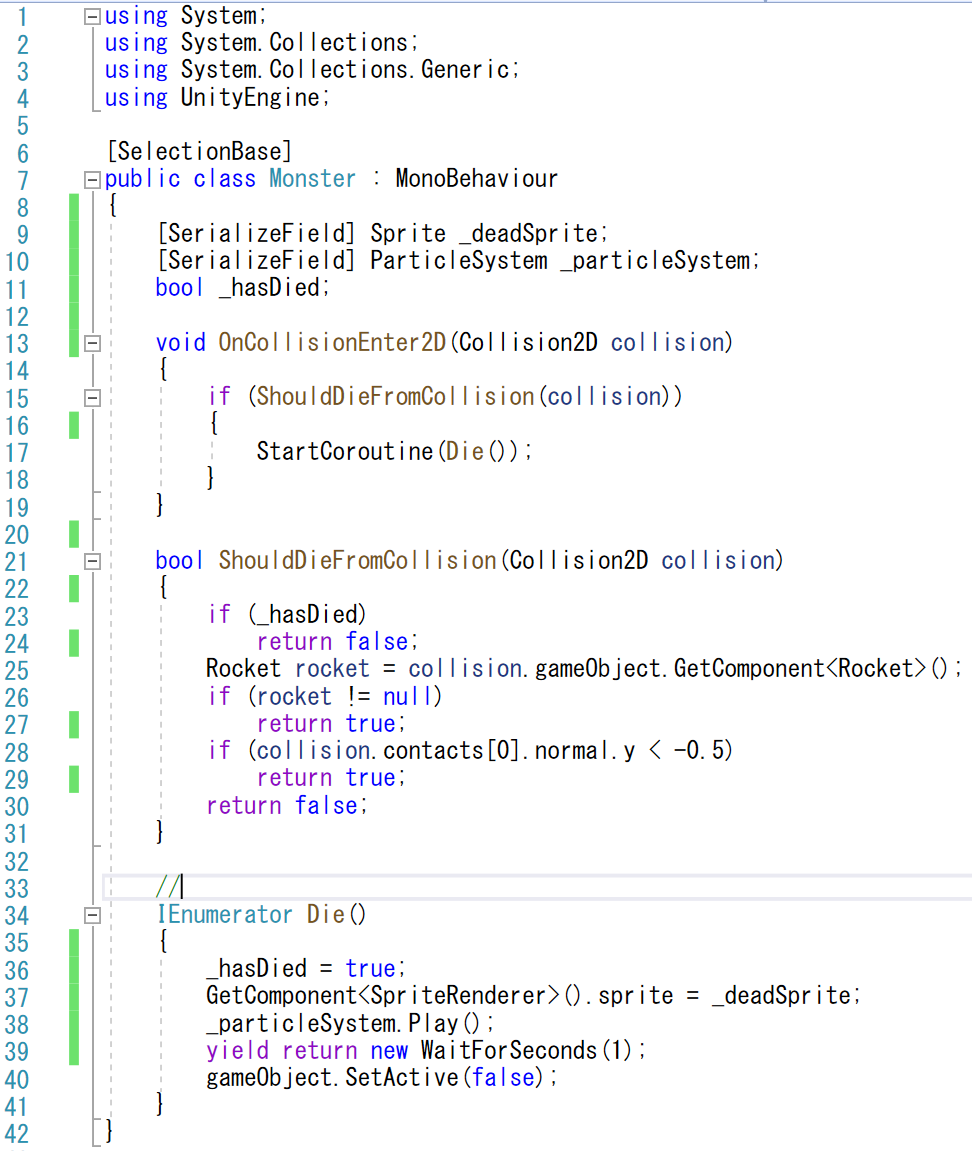
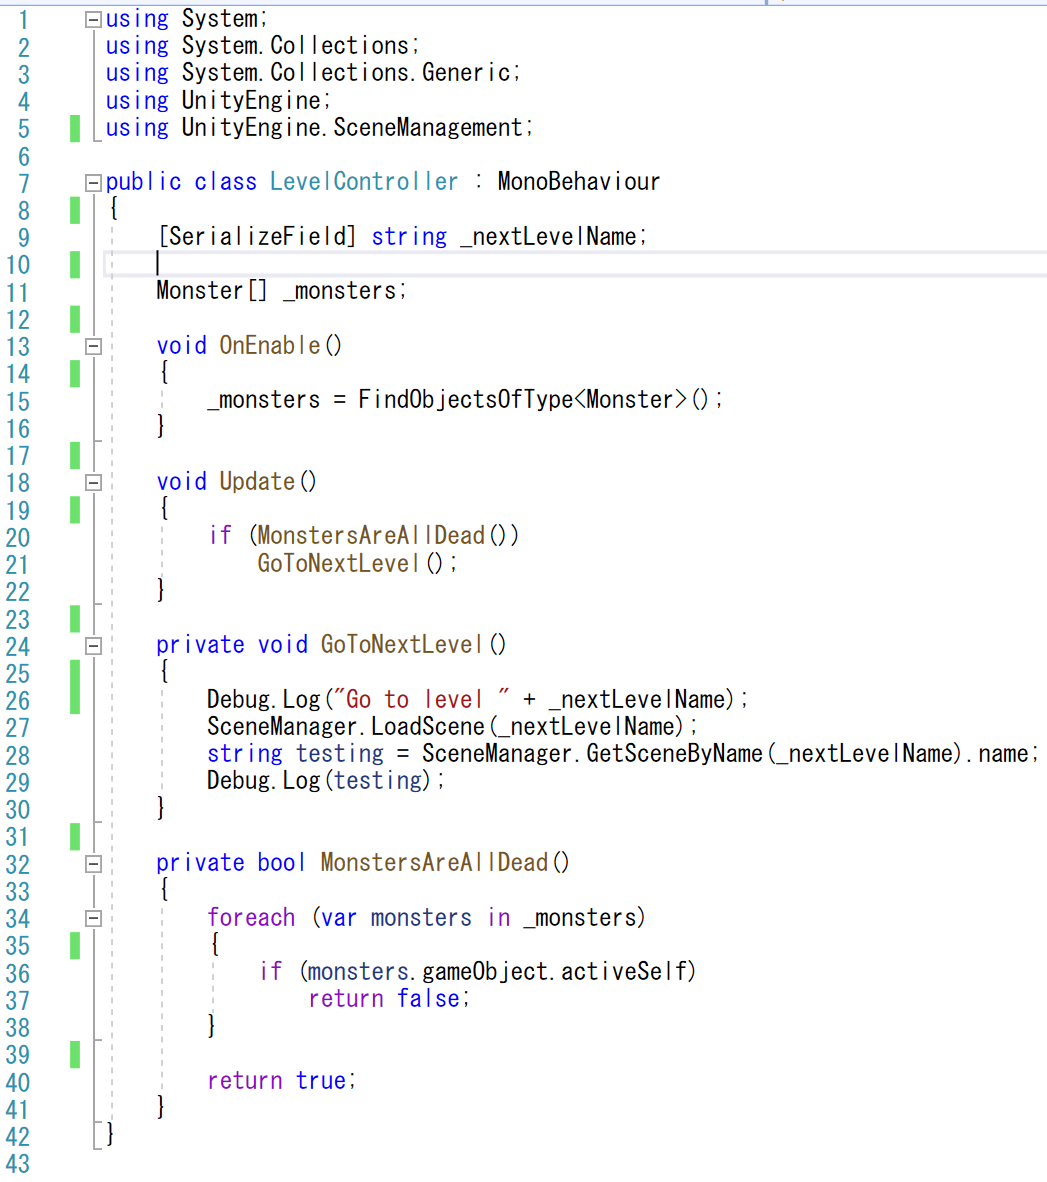
プログラミングする
1. If you don’t have the “Scripts” folder, create one:
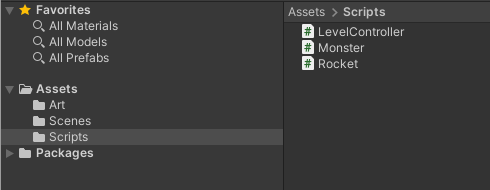
2. In “Scripts” folder, create 3 C# scripts:
3. Name them as follow:
4. Assign them to the game objects:
![]()
最終調整
- 1. Scripts in-game setting
- 2. Create Prefabs/Reposition
- 3. Camera focus on objects
- 4. Create Scenario (Optional)
1. Rocket
Change these values and try dragging the rocket to see the difference.

2. Monster
Select the dead monster sprite from our Assets Art folder,
and select the particle system we created for Pink Monster earlier.
1. Create a new folder name “Prefabs”:
2. Duplicate pudding:
3. Create prefab for puddings:
4. We can bring up the prefabs easily by dragging from folder:

5. Create prefab for pink monster
6. Create new pink monsters from prefabs and reposition them:
7. Move the Rocket to a better position:
1. Setup the camera that follows the movement of rocket and all monsters:
2. Setup how much space it should have between the rocket and the game screen (camera viewpoint):
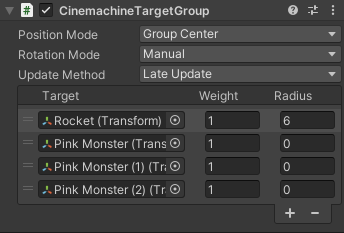
3. Make sure the ground is tall enough to cover up the camera view point:
If you want more than 1 level of game, you can create your own by following the steps below:
1. Go to “Scenes” folder in windows, duplicate “Level1”, change the new name to “Level2”:
2. Open “Level2”, and set up Level2’s monster/puddings new locations:
3. Save “Level2”. Open “Level1”, point the correct next level name in the inspector:
4. Include “Level2” into the game build:
Note: You can repeat the steps above to create Level3, Level4, etc.
![]()